Determine the final grade with marking guidelines
Review the AI score alignment
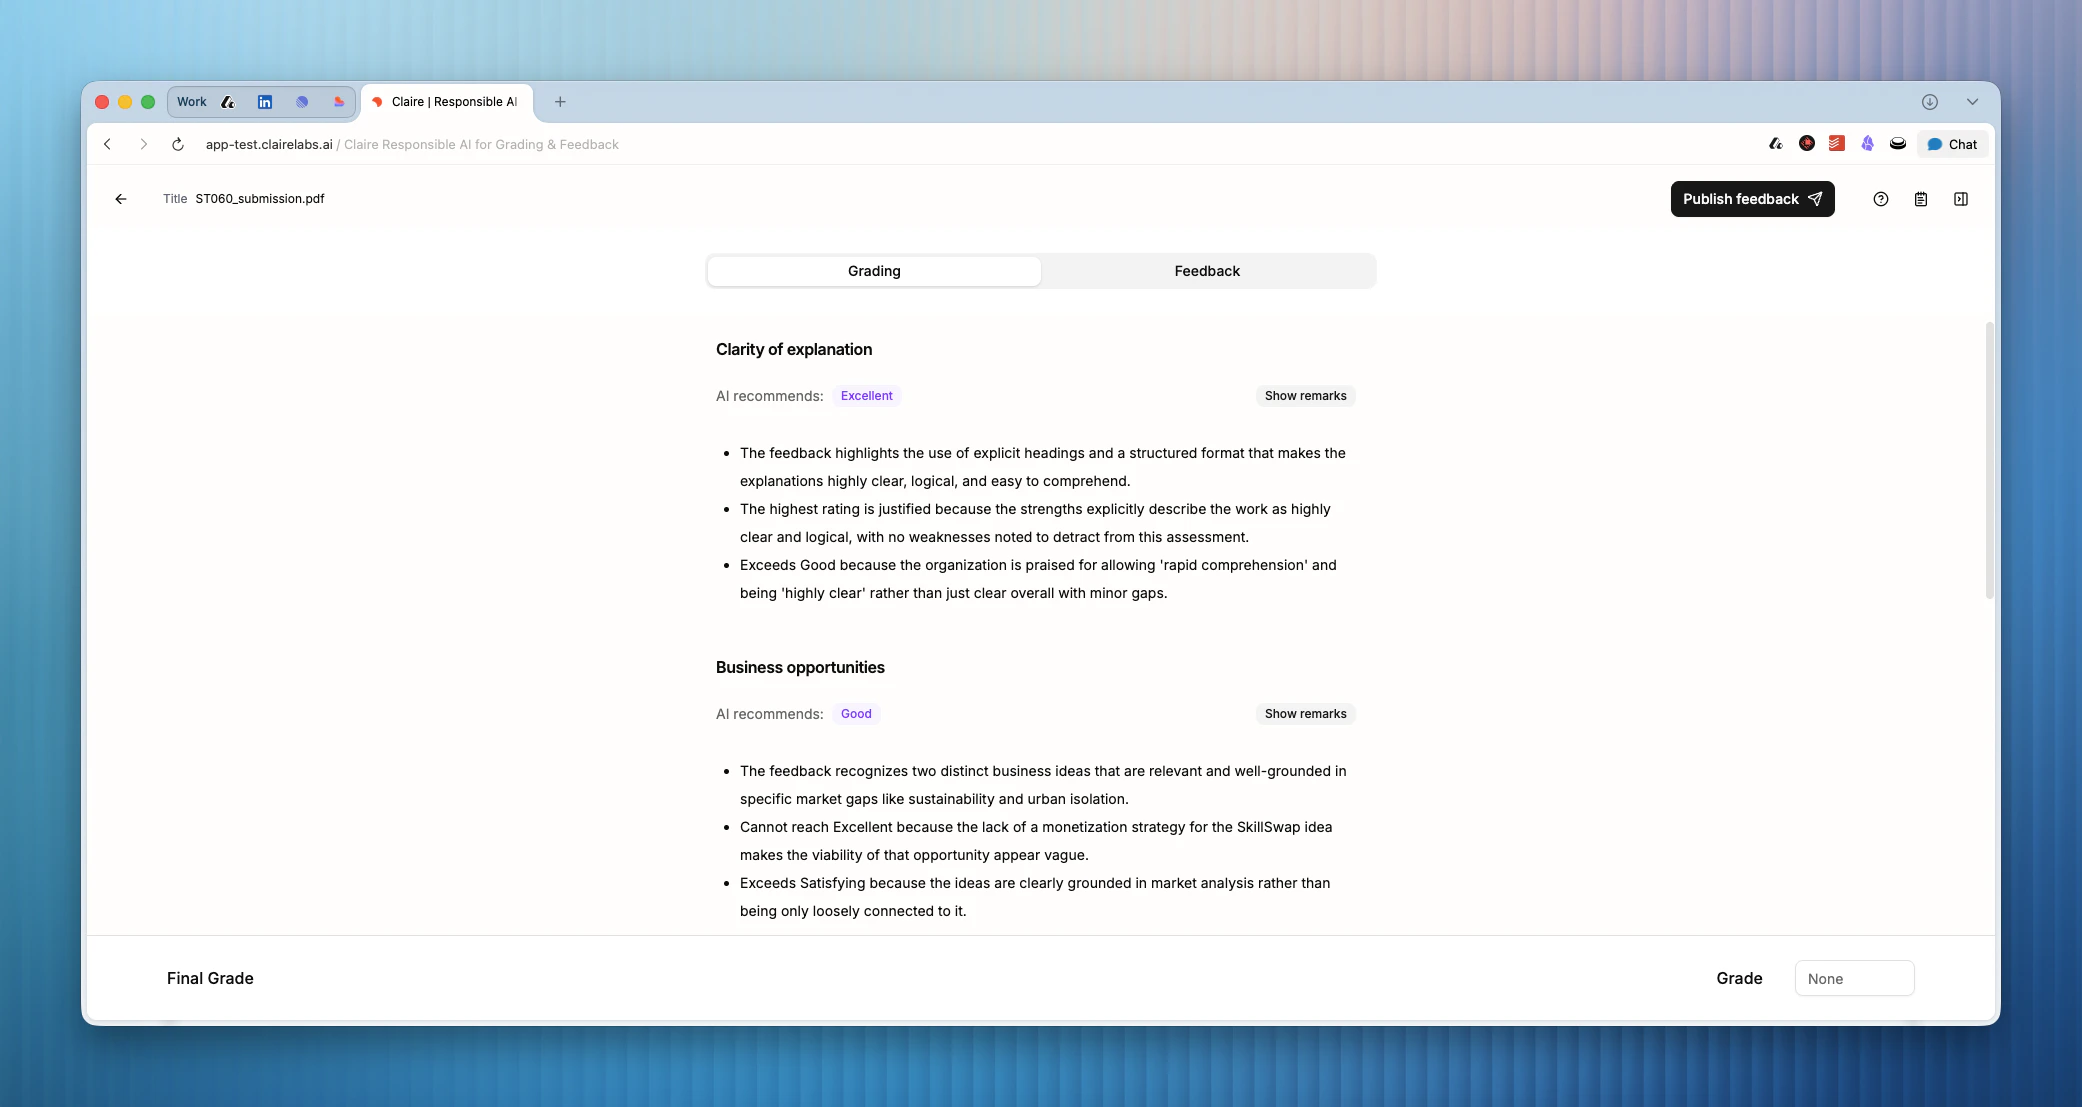
When you generate a report, the system maps your grading remarks against the scoring criteria of your grading rubric to determine the most appropriate bucket. The outcome will be presented to you as a recommendation.
Verify the system recommendation
AI can make mistakes. Do not take the recommendation at face value. We encourage you to treat AI output critically, and verify the underlying grading remarks. You can do so by clicking View Blocks.
Generate, review, and share feedback
Open the Feedback tab
Click Feedback in the tab menu to see the generated draft. Read through the text and confirm it accurately reflects your intended feedback.
Review and edit
Click anywhere in the feedback text to place your cursor and type. Make any adjustments you need. The text editor supports standard text editing.
Publish the feedback
When you are satisfied with the text, click Publish feedback in the navigation bar. This stages the feedback and locks it in. From here, you have two options to share the feedback with your student: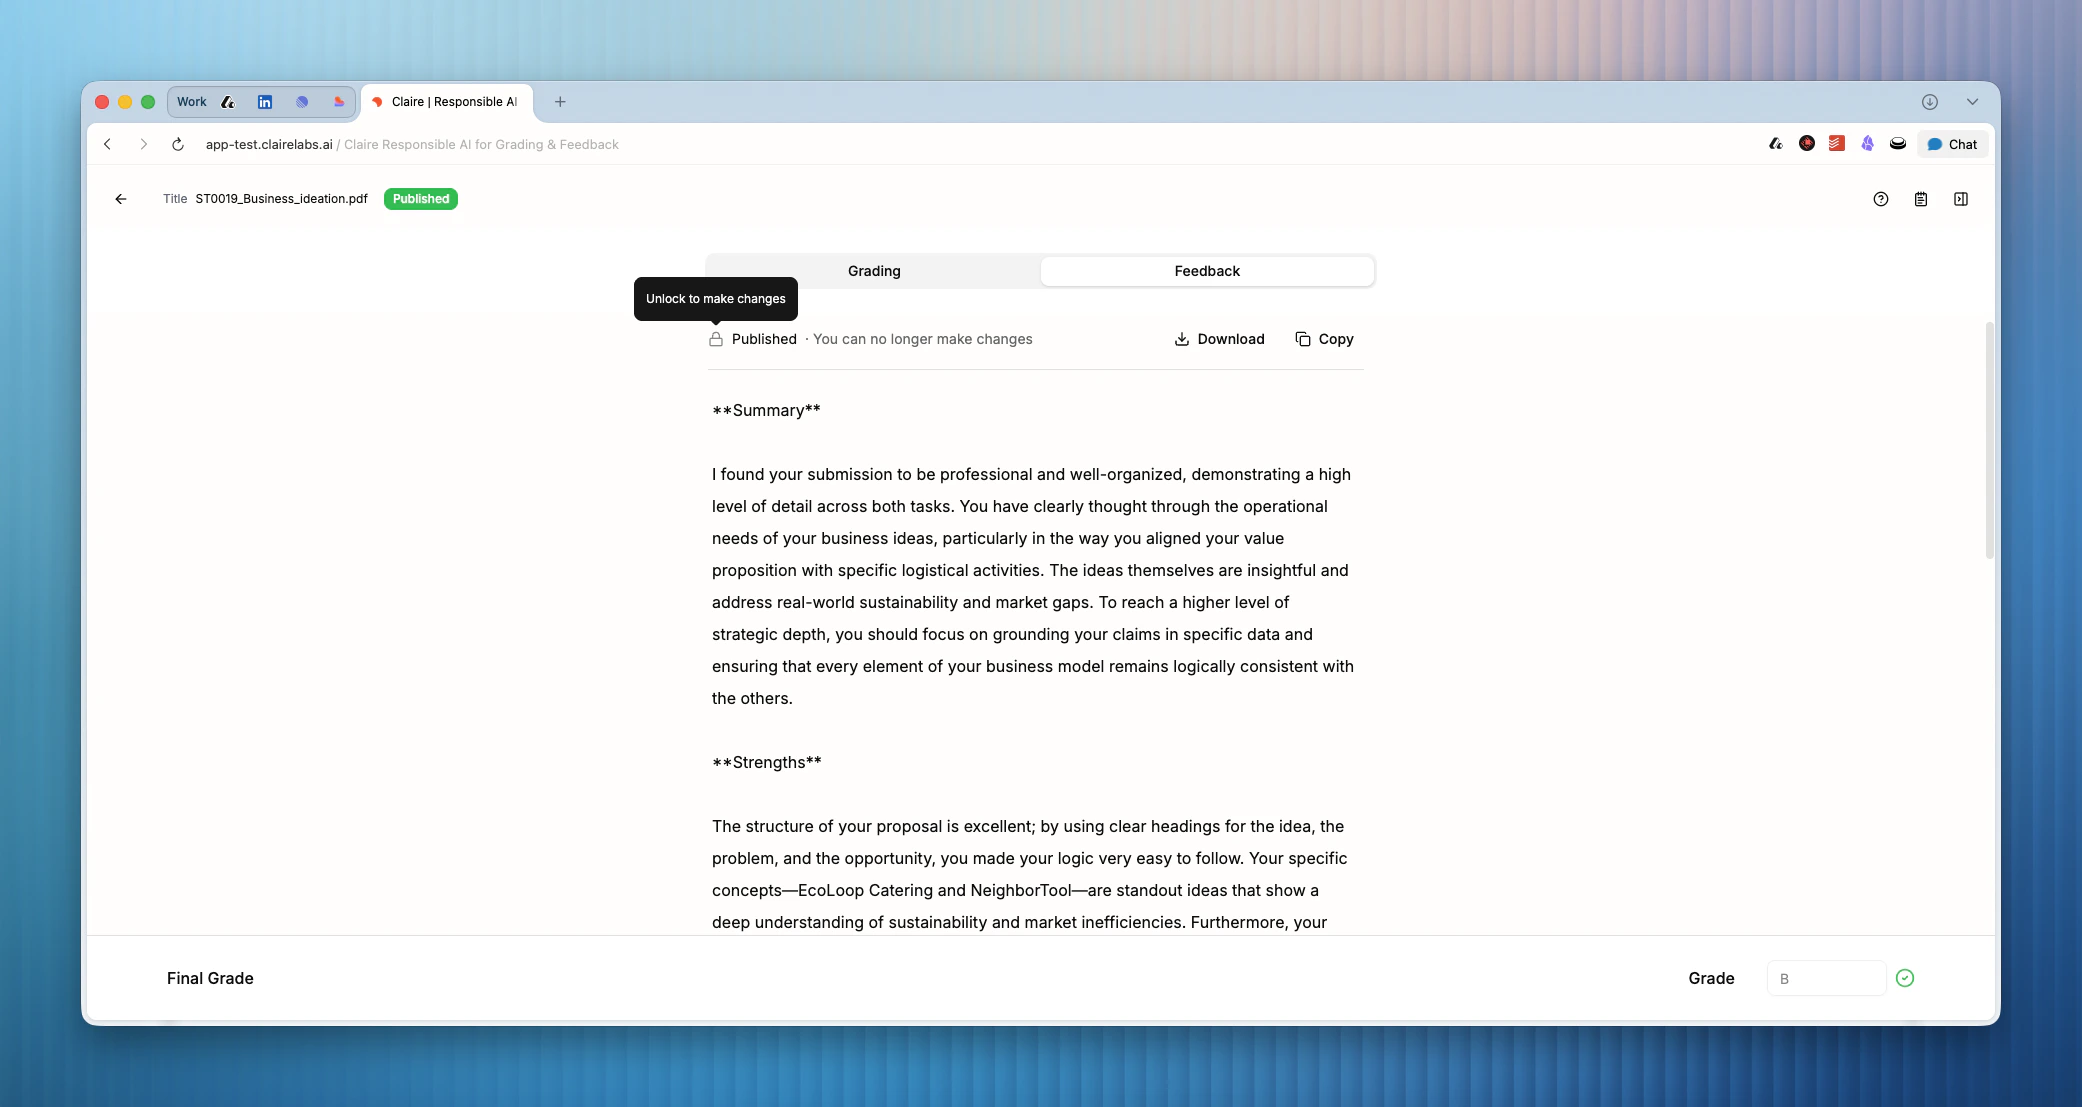
- Download as PDF: You can download the report as a PDF to share manually.
- Publish to the student portal: You can make the feedback available directly in the student portal.
Share via the student portal
To publish the feedback to the student portal, navigate back to the Student Portal tab on your course page.
- In Review: When an assessment is in the “In Review” column, you can use the Share grades in portal toggle. When turned on, any feedback you publish is immediately visible to the student in the portal. When turned off, feedback remains staged until you are ready, ensuring all students receive their feedback at the same time.
- Completed: When you move the assessment to the “Completed” column, all published feedback and grades will be visible to students in the portal.
Looking for more details?
- To see what the report looks like for your student, see Feedback reports.
- To understand how to manage your assessments and portal, see Student portal.